

One of the best things you can do to help prevent pathogens, harmful nutrients, parasites, and diseases from entering our waterways is to make sure that you pick up after your pet. To help keep you equipped with bags on this mission, we put together a quick “how to” for crafting your own doggie bag holder from upcycled materials. These are great for pet-owners and concerned citizens alike, and can be worn around your wrist, tied to a leash, or kept in your car.
Materials Needed:
• Two clean yogurt containers OR the bottoms of two plastic soda bottles (with labels removed)
• Scissors OR crafting knife
• Sandpaper or nail file (optional)
• Tape (the thicker the better here but most kinds will work)
• String, yarn, ribbon, or a strip of cloth
Prepare the Dispenser Piece
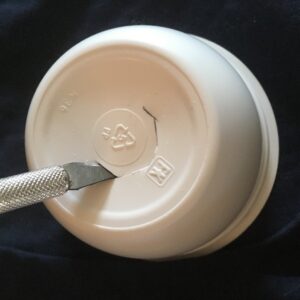
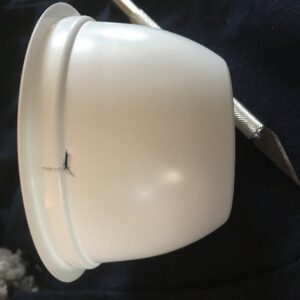
1. Cut a hole roughly 1¼ inches in diameter on one of your two containers. Using your sandpaper or nail file, sand down any rough edges here as desired.
2. Tear off a piece of tape roughly 2 inches square. Set that aside for now.
3. Tear off a second piece of tape just slightly larger than 1¼ in each direction.
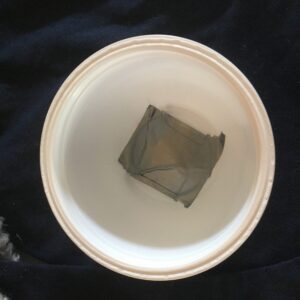
4. Place the two pieces of tape together – sticky-sides together – as shown in the picture below. The first piece of tape should have some of the sticky side still exposed.

5. Tape the joined tape strips to the bottom of the container you cut a hole in. There should be no sticky sides showing on either side of the hole.
6. Tear off a last piece of tape, about 3 inches square, to cover both pieces of tape and secure them in place. It should look like the following:
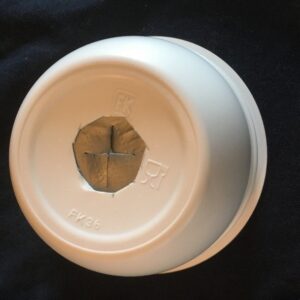
7. Set the container so the side with the hole you cut is facing up. Cut an “x” shape into the middle of the tape.
Make the Handle
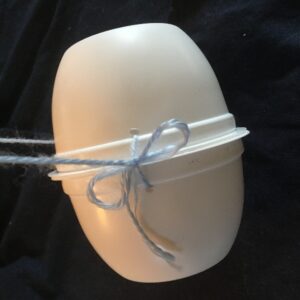
1. Cut two small holes near the rim of each of your containers, one on each side, as shown below.
2. Thread your ribbon, string, or cloth through the hole (if you choose ribbon or cloth, your hole will need to be bigger than the one pictured). Be sure to leave extra string for a handle between each knot, so you have a handle to use when carrying. This handle size can be to your preference, but for the model shown about 12” of slack between knots was enough.
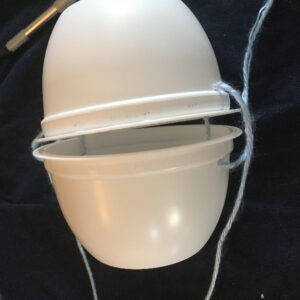
3. Tie one of the sides off in a double-knotted bow
Fill with Your Bags of Choice
1. Before tying shut your second side, fill your holder with bags. Here, I have used upcycled grocery bags, but rolls of pet poop bags will fit as well. Go ahead and poke one of your bags through the hole created in step 1 to get your dispenser started.
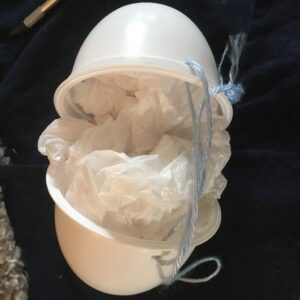
2. Leaving as much string as you would like for a handle between knots (again, I left about 12” for a handle on mine), tie shut the second side with a double-knotted bow. Keep in mind that to refill your holder, you will untie one of these bows, so try not to tie too tight to undo again!
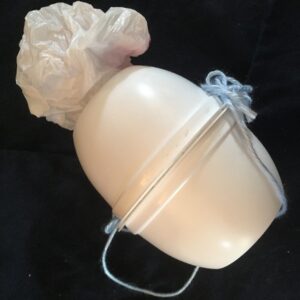
Decorate as Desired and Get to Scooping!
1. Personalize and decorate your exterior however you’d like! Then, you are finished and ready to enjoy your new bag holder! You can slip the handle over your wrist or tie it to your leash and you are all set to start scoopin’!